If we use Review Warnings often enough, and we should be, we'll run into this warning eventually.
 Check the item and Click Show to have Revit try to find a view to show it in. Once it is selected we can either drag the Tag where it is suppose to go or Click the Show Related Warnings button on the ribbon to show the dedicated warning it has again.
 When this warning is isolated like this the dialog includes the Move to Room button. An aside, is it amusing or worrisome that Revit seems to think the best way to fix warnings is to delete the offending element (via Delete Checked)? Regardless, Move to Room will resolve the issue whether we can see where the tag is meant to be or not.
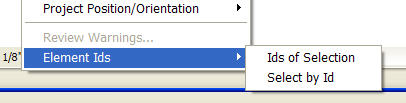
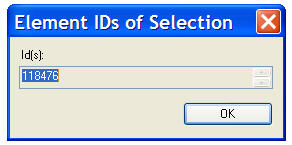
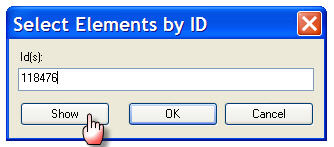
 Another way to tackle it from the Review Warnings dialog is to make a note of the Element ID referenced in the warning. Now we can then use the Select by ID tool. Enter the ID value and click OK.
 This will select the tag, even if we're not in a view that it can be seen in, and then we can use the Show Related Warnings button on the ribbon again followed by the Move to Room button.