The linework tool is intended to allow us to override the way objects appear in a view. Yes, view specific, only the view you apply it in, one place, not project wide. Well you get the idea now right?
Some examples? Embellish your building elevation? Show a roof eave above? A ceiling opening or bulkhead above? Want something solid to appear dashed? Want an object to disappear, remove a line? All possible with the linework tool. I posted an EXAMPLE in a different topic here in the months gone by.
The linework tool relies on Line Styles so if you want to apply a certain line style just make sure you make or have it first. That goes for line patterns too naturally since the linestyle relies on them too.
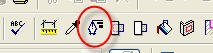
You'll find the Linework command under the Tools menu and on the second row of the toolbars in between the Eyedropper (Match Type) and Show Hidden Lines (new) buttons. Yep looks like a fountain tip pen with some lines above and to the right of it. Like this >
The default keyboard shortcut for it is LW.
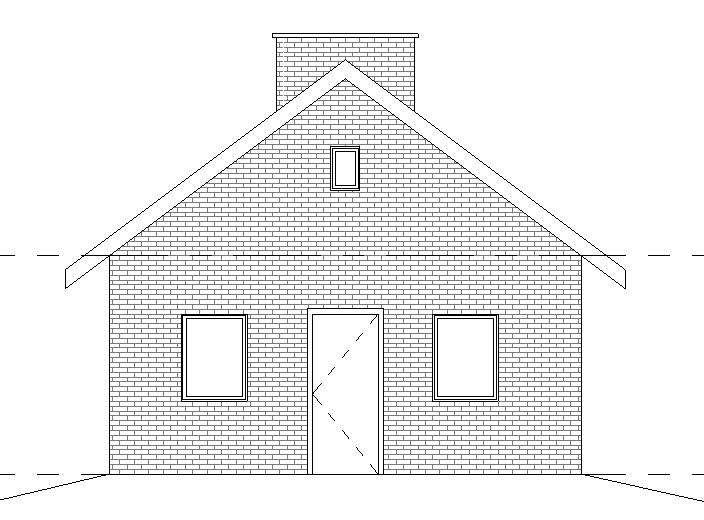
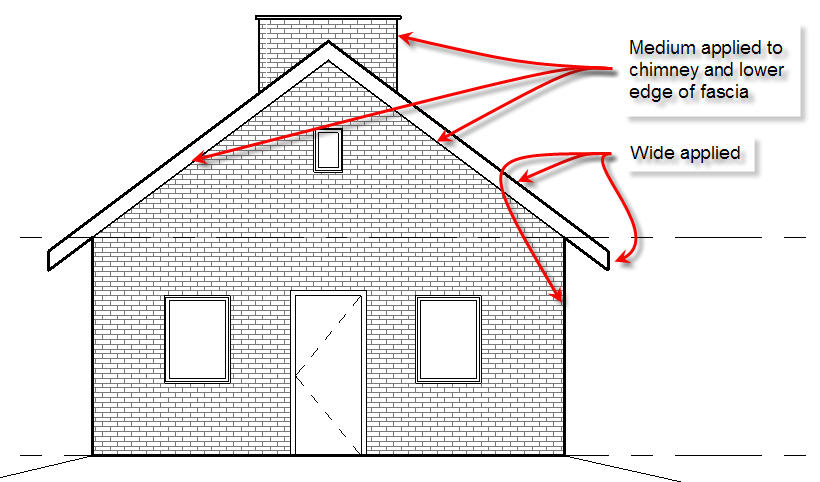
So how do you use it? Easy, click the tool button, click an object. Let's take a look at the first example, embellish an elevation. The third pig in the old children's tale built his house with brick so let look at his house without any extra effort.

There are lots of other possibilities too. I'll post other examples as I get time.
1 comment:
I know this article is from a long time ago but, is there anyway to change linework on a linked revit file?
Post a Comment